Climbing Wall Self-Installation FAQs
Although Everlast Climbing offers factory installation of our climbing walls, many people choose to install their climbing wall themselves. This blog addresses some of our most Frequently Asked Questions for if you elect to do self-installation. Please don’t hesitate to reach out to us at info@everlastclimbing.com or 1-800-476-7366 if you need support along the way.
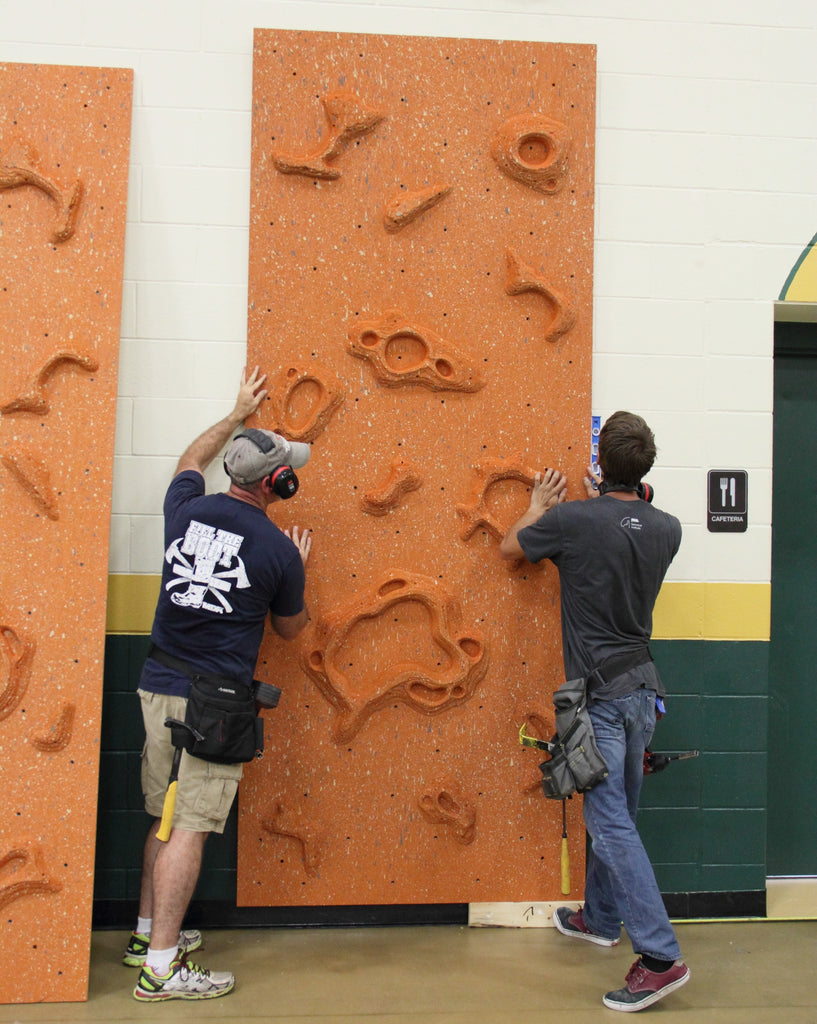
Installing an Everlast Climbing Traverse Wall® System
How long does it take to self-install?
Most Traverse Wall® systems can be installed within a day, but if the wall is over 40 feet in length it may take a little longer.
What tools will I need to self-install a climbing wall?
All necessary hardware is included with the purchase of a Traverse Wall® System, but you will also need a level, wood shims, ½” hammer drill bit, drill, socket wrench, and a wood block for self-installation.
What is the best type of wall for installing a climbing wall?
If your climbing wall is going to be installed on a concrete/CMU wall, you are good to go. If your wall is made of drywall - either metal or wood studs - the installation process will include building out a sub wall for the climbing wall panels to be installed on. If you have a metal stud wall, it should be at least 6” 18-guage steel studs, 16” o.c. For full details on the drywall installation process, please reach out to us at info@everlastclimbing.com
What are the steps for installing a climbing wall?
Detailed instructions are included with your climbing wall. Below are downloadable PDFs if you would like to see them in advance.
Installing Everlast Hand and Foot Holds
How do I install the hand holds?
The most common questions we get from self-installation clients are about how and where to place the hand holds. We have a lot of information for you so that you are prepared!
Before installing holds it’s important that you review the instructions to avoid stripping any t-nuts. For full instructions click here.
- Place hand hold over the desired hole (t-nut) in the climbing wall, lining up the hand hold with the hole in the climbing wall.
- Insert the bolt through the hand hold and into the climbing wall.
- Using an Allen wrench (included), gently start threading the bolt into the t-nut. Take care not to cross-thread the T-nut.
- If you feel resistance while starting to thread the bolt, immediately stop, remove the bolt and readjust the hand hold and bolt angle.
- When the bolt threads are started properly, continue threading the bolt until it becomes tight, then give another 3/4 of a turn. Do not overtighten the bolt.
As an added bonus, any of our accessories you plan on adding to your wall can be installed into the same T-nuts we bolt the holds through.
How do I know where to place the holds?
The fun thing about our walls is there is so many pre-set T-nuts in the panels that you can place the holds pretty much anywhere you want! Here are a few helpful tips to get you started:
- If your wall includes a Red-Relief Line® you will want to install that first. How high off the ground it should be differs based on the size of the wall:
- WeeKidz® Walls: 2.5 feet above the safety mats
- 8’ Traverse Walls®: 3 feet above the safety mats
- 10’ Traverse Walls®: 3.5 feet above the safety mats
- You want to keep any foot holds below the Red-Relief Line® (if applicable)
- Pay attention to where you place holds at the beginning and end of the wall. Climbers should be able to easily climb off the wall rather than jump off.
- You can position the holds in whatever direction you see best fit, but keep in mind that there is generally an easier and harder way to position the climbing hold.
- Once you place all the holds you can try climbing the routes yourself to see the difficulty level and you can always add or move holds to adjust to your liking!
For more on installing holds and route-setting, check out this past educational climbing blog.
Installing the Everlast Mat-Locking System
What if our wall has a corner?
We have a solution for that! Just let us know at the time your order is placed so we can prepare your mats accordingly.
Is it hard to install the Mat-Lock holds?
They are not hard; they just install differently than the hand holds. You will be using a drill with a #2 Phillips head bit to screw three 1-5/8” screws into the panel. The most important part is making sure you position the holds correctly, which is explained in the instructions and briefly below.
Where do I place the Mat-Lock holds?
This can be determined by placing the safety mat upright against the wall, resting on the floor, with the nylon loops up. Then position a loop over a hold and install the hold.
How high should the mats hang on the closed climbing wall?
The safety mats should always be resting on the floor when the climbing wall is closed. Be sure they are resting on the floor when you install the Mat-Locking holds. If the mat’s entire weight is off the ground, then it adds too much stress to the vinyl straps. For full instructions on this process please see below or reach out to us at info@everlastclimbing.com
Can I get an overview of the Mat-Locking® System?
Of course! Download the installation instructions and watch our informational video below.