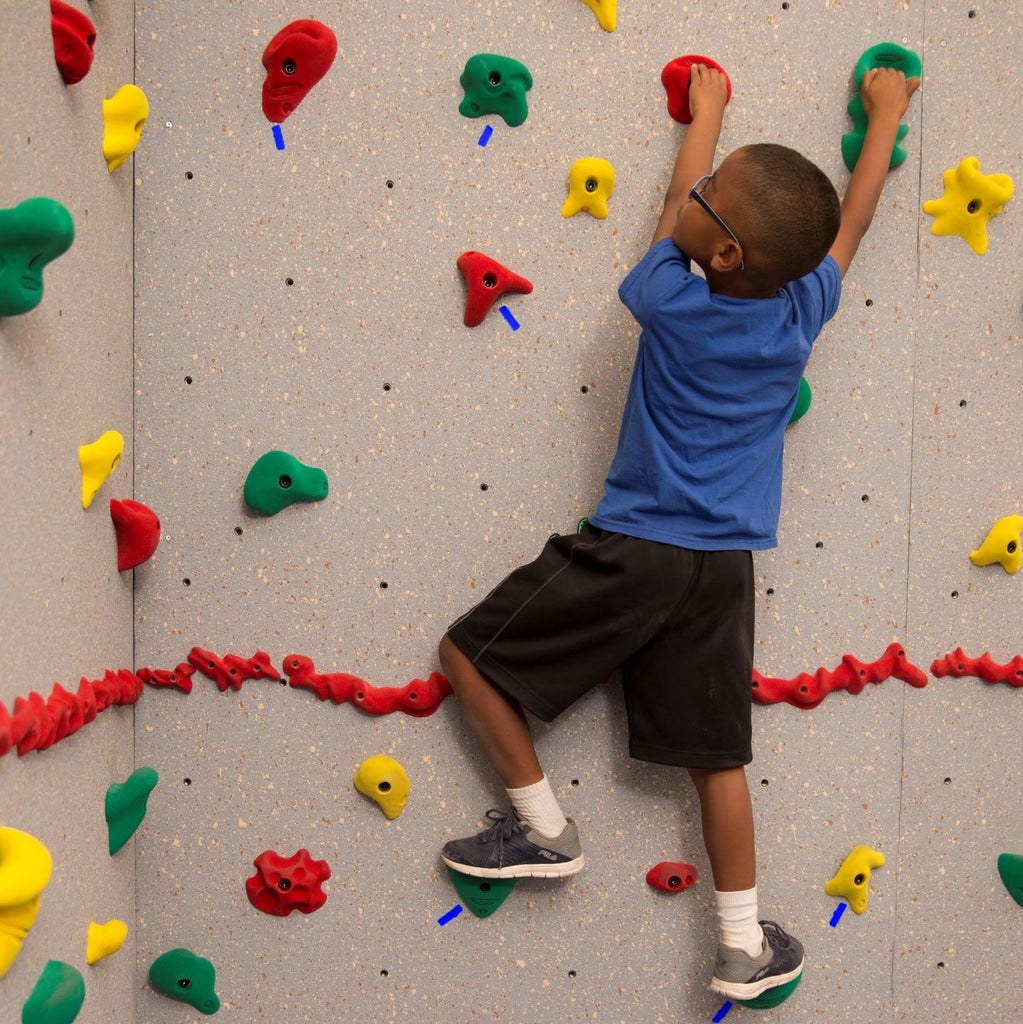
Route Setting as an Activity
Keeping your climbing wall fresh and challenging over time requires regularly offering new experiences for your climbers. It also can involve relocating the hand holds and creating new climbing routes for climbers to try. The route setting experience can also be an activity in and of itself for your most experienced climbers. It’s a great cooperative activity that also challenges climbers to access their climbing knowledge and skill and become creators.
Route Setting
Activity Objective: Participants work cooperatively to create rock climbing routes.
Grade Level: 4th and up
Grouping: Small group
Materials:
- Tape, preferably Gaffers Tape
- Permanent marker
- Allen wrench, if allowing participants to move or rotate holds
- Copies of Route Setting Fundamentals, optional
- Copies of Hand Hold Installation Instructions, optional
Advance Set Up: None
Activity:
This activity is intended for experienced climbers who have had previous experience climbing routes.
Prior to beginning, discuss route setting with the group. You may wish to refer to Route Setting Fundamentals. Also discuss their previous experiences following a route. Use an existing route on the wall as an example and discuss the elements of a good route (safe but challenging, interesting moves and uses most of the wall). If participants will be permitted to move or rotate holds, they will need to be trained on how to properly remove and install a hand hold.
Next, members of the group will work cooperatively to create a climbing route. They should climb as they are creating the route to see if the moves are possible, safe and interesting. Once the route is finalized, it should be labeled by placing a piece of tape next to each hold in the route. Since multiple groups will be creating routes, there needs to be a way to differentiate the different routes. Each group should come up with a symbol or way to mark their tape. For example, they could use a smiley face, group members’ initials or a route name. To climb the “smiley face route,” climbers would use only holds marked with smiley face pieces of tape.
After all routes have been created and labeled, give participants multiple opportunities to climb all the different routes.
Debrief/Reflect:
- What were some of the challenges of setting a route?
- What did you learn through the course of this activity? About climbing? About working with others?
- After climbing, what things did you appreciate about your route/your peers’ routes?
Teaching Tips:
- It may be logistically easier to divide your wall into two or three sections and have each group set a route for just their section. You could also have them modify the starts/finishes to connect all the routes to create one route.
- Provide opportunities for participants to move the hand holds to new locations on the wall or rotate their position on the wall to increase/decrease difficulty level and/or bring new experiences to the climbing wall.
- Monitor group dynamics and help participants work cooperatively.
National Standard(s):
- Standard 1: Demonstrates competency in a variety of motor skills and movement patterns.
- Standard 2: Applies knowledge of concepts, principles, strategies and tactics related to movement and performance.
- Standard 3: Demonstrates the knowledge and skills to achieve and maintain a health-enhancing level of physical activity.
- Standard 4: Exhibits responsible personal and social behavior that respects self and others.
- Standard 5: Recognizes the value of physical activity for health, enjoyment, challenge, self-expression and/or social interaction.
Grade-Level Outcomes:
- Nonlocomotor (S1.E7, S1.E8, S1.E10)
- Movement concepts (S2.E1, S2.E2)
- Engages in physical activity (S3.E2, S3.M3, S3.M4, S3.M5)
- Personal responsibility (S4.E1, S4.E2, S4.M1, S4.M2)
- Working with others (S4.E4, S4.M4, S4.M5)
- Rules & etiquette (S4.E5, S4.M5, S4.M6)
- Safety (S4.E6, S4.M7)
- Challenge (S5.E2, S5.M3)

Leave a comment